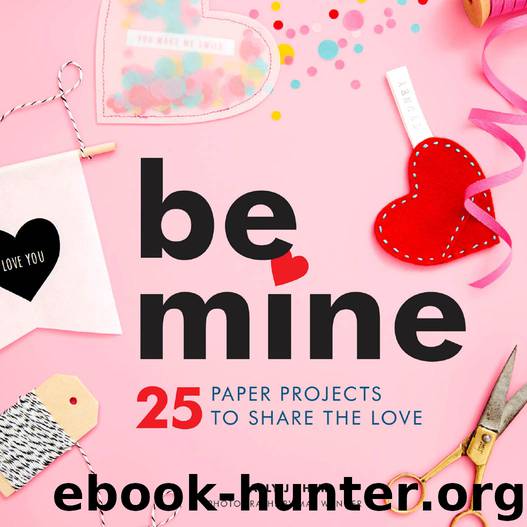
Be Mine by Sally J Shim & Max Wanger
Author:Sally J Shim & Max Wanger
Language: eng
Format: epub
Publisher: Chronicle Books LLC
Published: 2015-06-10T16:00:00+00:00
TOOLS
Computer and printer
X-ACTO knife
Ruler
Self-healing cutting mat
Pencil
Glue stick
Wire cutter
HOW TO
1 With your computer, download this project’s printable from www.chroniclebooks.com/bemine.
2 Print the Patterned Paper printable onto the white text-weight paper.
3 Print the Message Labels printable onto the front of the white sticker paper.
4 Using the X-ACTO knife, ruler, and self-healing cutting mat, neatly cut out one label along its outer edge.
5 Using the pencil, ruler, and self-healing cutting mat, draw a 5-in/12-cm square on the patterned paper. With the X-ACTO knife and ruler, cut out the patterned paper square. Lay the patterned paper square on the colored text-weight paper, and with the X-ACTO knife and ruler, cut out an identically sized square on the colored text-weight paper.
6 Using the glue stick, apply glue to the underside of the patterned paper square and press it against the surface of the solid colored square to join the pieces together. Allow 15 minutes to dry.
7 Fold the paper square diagonally in half, and then unfold the square. Then fold the square across the opposite diagonal, and unfold the square. An X will now appear across the surface of the paper square, marking the folds.
8 Using the X-ACTO knife, ruler, and self-healing cutting mat, cut along each of the folds, starting from the outer corner of the square and stopping three-fourths of the way to the center of the square. Without making a crease in the paper, draw in every other point so the four points overlap at the center of the square.
9 Place the sewing pin through the corner points and through the center of the front of the square. Then flip the paper square over so you’re looking at the back side. Thread the bead onto the pin, and then insert the sharp tip of the sewing pin through the paper straw 1/2 in/12 mm from the top of the straw. Using the wire cutters, trim the end of the pin so 1/2 in/ 12 mm of the pin remains. Insert the remaining length of the pin into the pencil eraser so the point is safely embedded in the eraser.
10 To apply the label to the straw, remove the sticker backing from the label and then place it around the straw so the two ends are the same length. Press the two ends together to secure the label in place.
VARIATIONS
Instead of using the Patterned Paper printable, use patterned and solid-color origami paper to create the pinwheel.
For added flair, glue a mini pom-pom or a button to the center of the pinwheel.
Download
This site does not store any files on its server. We only index and link to content provided by other sites. Please contact the content providers to delete copyright contents if any and email us, we'll remove relevant links or contents immediately.
On Writing A Memoir of the Craft by Stephen King(4997)
The Doodle Revolution by Sunni Brown(4828)
A Simplified Life by Emily Ley(4215)
Mummy Knew by Lisa James(3729)
Marijuana Grower's Handbook by Ed Rosenthal(3716)
Better Homes and Gardens New Cookbook by Better Homes & Gardens(3630)
Figure Drawing for Artists by Steve Huston(3492)
Paper Parties by Erin Hung(3448)
Draw Your Day by Samantha Dion Baker(3411)
The Genius of Japanese Carpentry by Azby Brown(3345)
The Code Book by Simon Singh(3251)
Japanese Design by Patricia J. Graham(3214)
Dangerous Girls by Haas Abigail(3073)
The Curated Closet by Anuschka Rees(3008)
Lions and Lace by Meagan Mckinney(2999)
How to Make Your Own Soap by Sally Hornsey(2945)
The Checklist Manifesto by Atul Gawande(2893)
Keep Going by Austin Kleon(2819)
The Wardrobe Wakeup by Lois Joy Johnson(2818)
